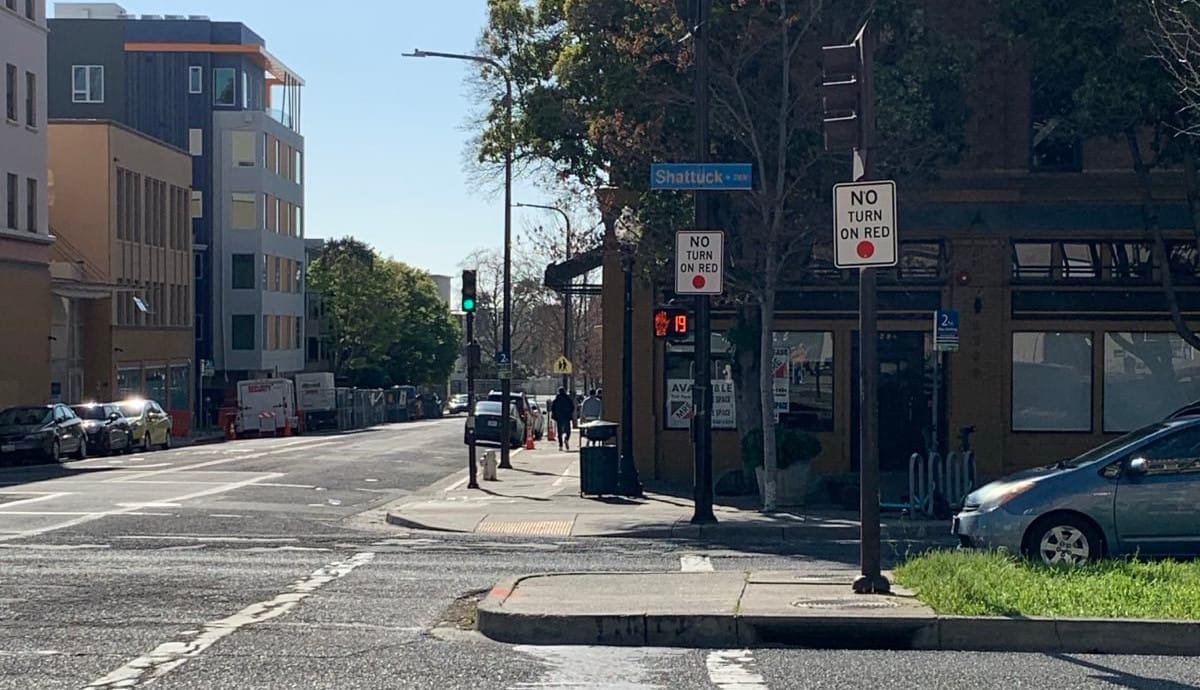
Installing signs is a subtle but powerful way to improve our roadways. Bus stop signs show riders where buses stop and what routes are served. Traffic signs can lower speed limits or prevent dangerous right-turn-on-red movements.
Sign Specification
Standards for installing traffic signs are carefully specified in detail by the Manual on Uniform Traffic Control Devices (MUTCD). California has it's own slightly modified version, the CA MUTCD. To ensure safety and legitimacy, we must be careful to follow MUTCD specifications when installing traffic signs.
Non traffic signs, such as bus stop signs, are not regulated by the MUTCD.
Size
The MUTCD Table 2B-1 (CA) lists minimum sizes required for traffic signs.
Thickness
To avoid flexing, aluminum signs smaller than 2ft across can be 0.063" thick. Otherwise (larger) signs should be 0.080" thick.
Retroreflectivity
TL;DR: Get "high-intensity prismatic" for traffic signs.
Modern traffic signs are retroreflective. Retroreflectivity is available in several grades, usually "engineer grade" (lowest), "high-intensity prismatic" (medium), and "diamond grade" (highest). MUTCD Table 2A-5 (CA MUTCD Table 2A-3) lists the minimum coefficient of retroreflection (cd/lx/m²) required for different traffic sign color schemes.
Bus stop signs and other non-MUTCD signs are not required to be retroreflective, but it will still help visibility.
Location and Height
Signs must be placed 7ft above the sidewalk (MUTCD §2A.18). Signs are required to be in certain places relatively to the roadway, for example, there must be one stop sign on the right hand side of the road.
Obtaining Signs
Several commercial sign shops have easy online stores to order from:

Signs can also be built from an aluminum blank, then overlaid with a vinyl backing and vinyl lettering using a cutting machine (such as Cricut).
Installation
Hardware
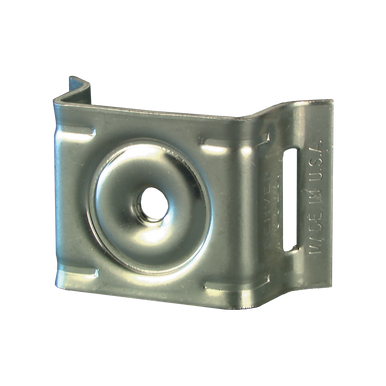
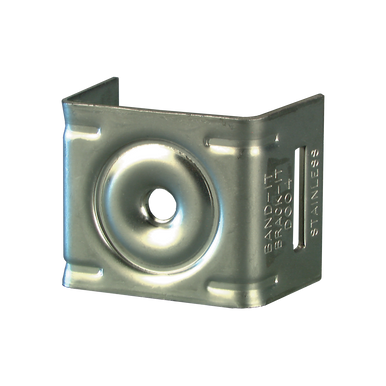
The components used to mount the sign are the sign "hardware." This generally consists of brackets (with bolts) and steel banding (with wing seals).
- 2x Brackets
- 2x Bolts (maybe: 2x nuts)
- steel banding (2 loops)
- 2 wing seals
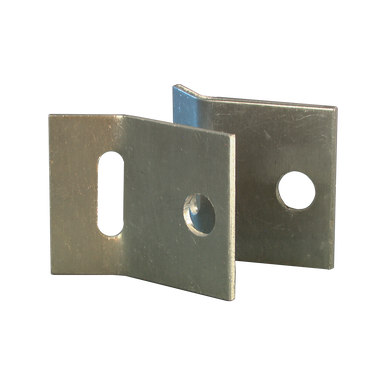
The brackets come in many shapes and sizes, with a few standard options. Generally two brackets are need per sign.

Standard mount, for 4"+ diameter poles

Standard mount, for 4" or narrower poles, though actually works on wider poles too

Wing-mount brackets, two pieces, requires a nut as well as a bolt, for bus stop-style signs.
Use any standard 3/4" width steel strapping: https://www.amazon.com/dp/B082TSXRYV/
Use any standard wing seals: https://www.amazon.com/dp/B07L6BNW8X/
Tools
You will need:
- gloves, safety glasses, and long sleeves (to protect yourself from the steel strapping)
- pliers (to bend the steel strapping)
- hammer (to bend the strapping, and hammer close the wing seals)
- steel strapping tool: https://www.amazon.com/dp/B07KFX4FNS/
Procedure
See the video below for how to use the steel strapping tool.
Use gloves to handle the steel strapping. You can pliers and/or a hammer to bend the strapping more tightly onto the wing seal. Make sure to thread the banding through your brackets before tightening.
It may be easier to initially attach the strapping low on the pole, pull it tight by hand, then shimmy the strapping up to its final height before tightening using the tool.
With wing brackets, the sign should be bolted into place before being mounted. With standard brackets, the sign can be bolted on after the first bracket is strapped in, which allows the second bracket to be bolted on and aligned before being strapped.

